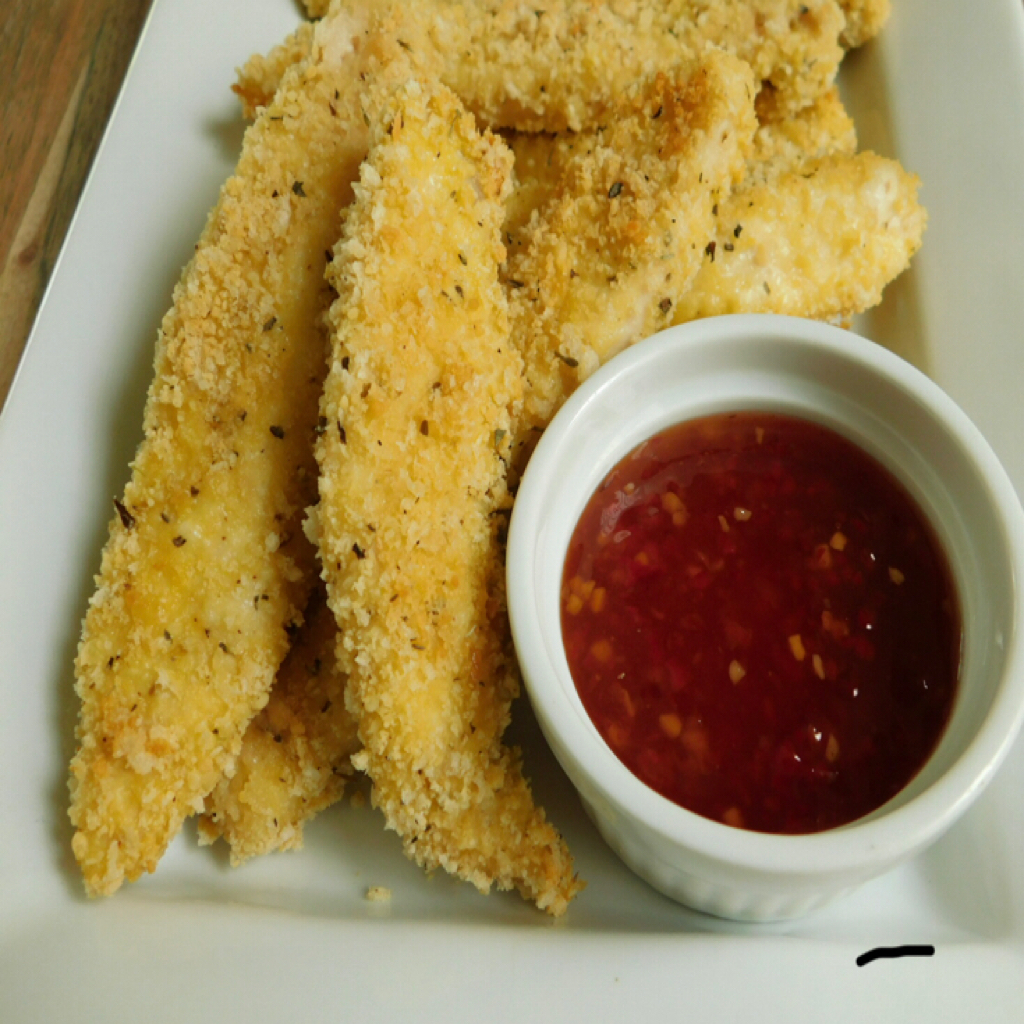
Try this Garlic Parmesan Chicken Fingers recipe.
- Carbohydrate 19.1899068741701 g
- Cholesterol 4.16875000073707 mg
- Fat 1.85748656277201 g
- Fiber 0.857774993126188 g
- Protein 4.96955937603791 g
- Saturated Fat 0.851137656400662 g
- Serving Size 1 1 Serving (254g)
- Sodium 193.643031263914 mg
- Sugar 18.3321318810439 g
- Trans Fat 0.207794531274549 g
- Calories 113 calories
Step-by-step
- Preheat oven to 350F (Note: you can also cook in an air fryer if you prefer)
- Cut the chicken into strips (size depends on preference; I cut 16 strips for 4 servings of 4 chicken strips each).
- In a bowl or ziplock bag, mix together panko, parmesan, garlic powder, salt, pepper, and Italian seasoning.
- Place flour on a flat surface, whisk eggs in a bowl.
- Roll chicken pieces in flour, then dip in egg, then coat in the panko/cheese mixture.
- Place strips on a baking tray lined with parchment paper.
- Bake in the oven for approximately 25 minutes, turning occasionally.
Garlic Parmesan Chicken Fingers: A Weeknight Winner
As a busy working mom, finding time to cook a healthy and delicious dinner is a constant juggling act. But let me tell you, this Garlic Parmesan Chicken Fingers recipe has become a lifesaver! It's quick, easy, and the whole family loves it. Forget takeout – this recipe is far healthier, more affordable, and honestly, way more satisfying.
The beauty of this dish lies in its simplicity. The ingredients are readily available, and the preparation is straightforward. Even my picky eater kids gobble these up! I usually make a double batch on Sundays, so we have leftovers for lunch throughout the week. It’s perfect for meal prepping.
The crispy, golden-brown coating is unbelievably addictive. That perfect blend of parmesan cheese and garlic powder delivers a burst of savory flavor in every bite. The chicken stays juicy and tender on the inside, a delightful contrast to the crunchy exterior. I’ve experimented with different dipping sauces, and my personal favorite is a simple honey mustard. But ranch, BBQ, or even a spicy mayo all work wonders.
Tips and Variations:
While the recipe calls for baking, I often use my air fryer for even crispier results. The cooking time is slightly shorter, and it's a fantastic option for a faster weeknight meal. Feel free to adjust the seasonings to your preference. Adding a pinch of red pepper flakes gives it a nice kick. You can also experiment with different herbs and spices like oregano or paprika.
This dish is incredibly versatile. It’s perfect served with a side of roasted vegetables, a simple green salad, or even some creamy mashed potatoes. It’s a complete meal that's both satisfying and nutritious.
Beyond the Dinner Table:
These chicken fingers aren’t just for dinner; they're a fantastic addition to lunchboxes, potlucks, or even a game-day spread. They’re easy to transport and hold up well, making them an excellent choice for gatherings. They're even great cold, which is a plus for leftover lunches!
This recipe has become a staple in our home, a go-to when time is short but a delicious and healthy meal is still a priority. It’s a testament to how simple ingredients and a little bit of effort can result in a dish that the whole family will adore. So, give it a try – I'm confident it'll become a new favorite in your kitchen too!
Serving Suggestions:
- Serve with a side of your favorite dipping sauce (honey mustard, ranch, BBQ, spicy mayo).
- Pair with roasted vegetables (broccoli, carrots, asparagus).
- Enjoy with a fresh green salad.
- Serve alongside creamy mashed potatoes or rice.
Storage:
Leftover chicken fingers can be stored in an airtight container in the refrigerator for up to 3 days. They reheat well in the oven or microwave.
Freezing:
You can freeze the uncooked, breaded chicken fingers before baking or air frying. Arrange them on a baking sheet lined with parchment paper and freeze until solid. Once frozen, transfer them to a freezer bag for long-term storage. When ready to cook, bake or air fry from frozen, adding a few minutes to the cooking time.



