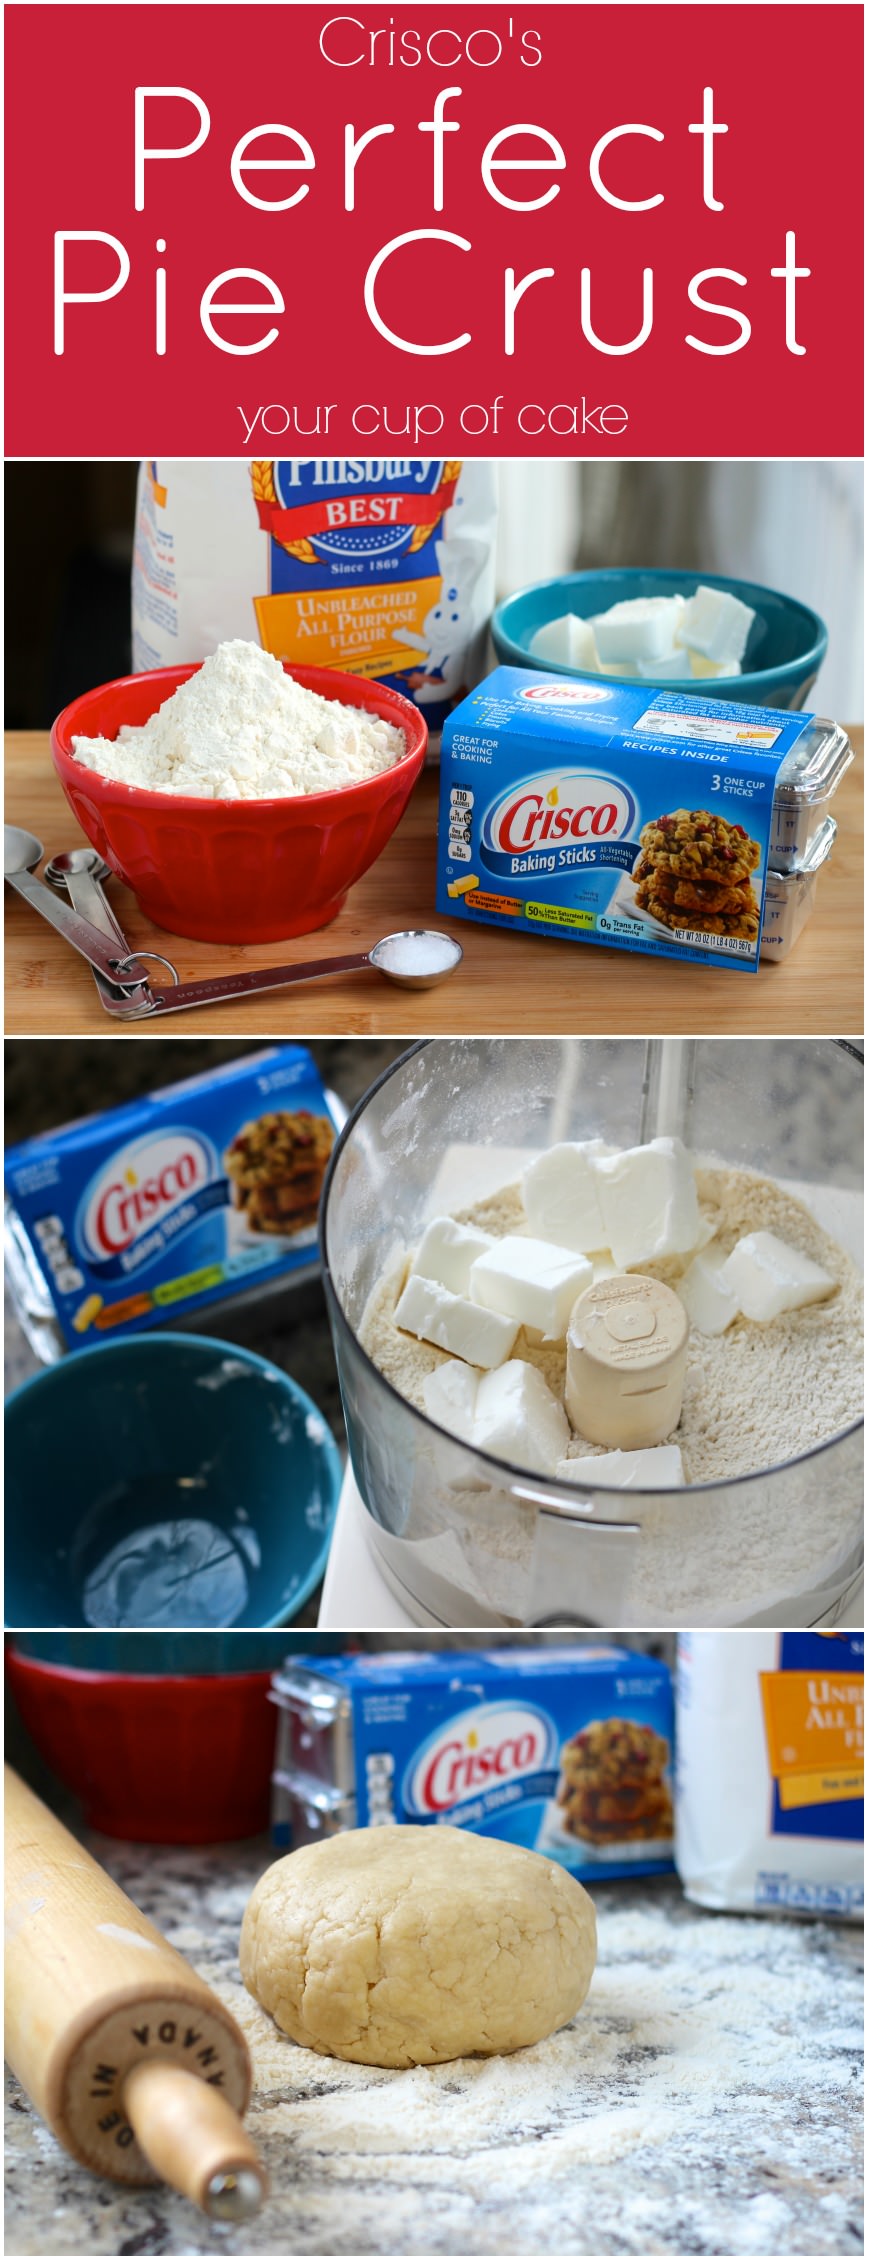
Try this Perfect Pie Crust recipe, or contribute your own.
- Carbohydrate 237.167248146052 g
- Cholesterol 395.032 mg
- Fat 192.456317265319 g
- Fiber 8.39186744373345 g
- Protein 33.5399898136817 g
- Saturated Fat 108.646337128698 g
- Serving Size 1 1 recipe (559g)
- Sodium 10489.6242809563 mg
- Sugar 228.775380702319 g
- Trans Fat 12.9377358720019 g
- Calories 2813 calories
Step-by-step
- Combine the flour, salt, sugar, butter and shortening in the bowl of your food processor and pulse several times until the mixture resembles coarse sand. Alternatively, you can use a pastry cutter to combine the ingredients in a large bowl.
- Add 1/4 cup of cold water to the food processor or bowl and mix until the mixture starts to form a dough. Add more water if needed.
- Turn the dough out onto a lightly floured surface and quickly shape into a large ball.
- Divide the ball in two, and shape each dough ball into a small flat disc, about the size of your palm.
- Work quickly with the dough, as warm hands will melt the butter and not give as flakey of a crust as desired.
- Wrap the discs with plastic wrap and refrigerate for at least 30 minutes and then use.
- If using the dough at a later time, let it sit on the counter for at least 10-15 minutes before rolling out on a lightly floured surface.
The Secret to the Perfect Pie Crust: A Home Baker's Journey
As a busy mom, time in the kitchen is a precious commodity. I'm always looking for recipes that are both delicious and efficient. Pie, with its flaky crust and endless filling possibilities, has always been a favorite in our home. But let's be honest, the pie crust was often the source of my kitchen frustrations. Store-bought? Too bland, too tough. My own attempts? Sometimes flaky, often tough, and frequently a crumbly mess. I knew there had to be a better way. This quest for the perfect pie crust led me on a journey of trial and error, culminating in this recipe – a method that’s become my go-to for reliably delicious results.
The key, I discovered, lies in a few simple principles. First, cold is king. The butter and shortening must be ice cold, and you want to work quickly to avoid melting them with the warmth of your hands. This cold fat is what creates those coveted flaky layers. Second, don't overmix. Overmixing develops the gluten in the flour, resulting in a tough crust. Pulse gently in the food processor, or use a pastry blender to incorporate the fats just until the mixture resembles coarse crumbs. Finally, don't be afraid to adjust the water. The amount needed can vary slightly depending on the flour and humidity. Start with less and add more, a tablespoon at a time, until the dough comes together.
This recipe has become my trusted companion in the kitchen. It's incredibly versatile; I use it for both sweet and savory pies. From classic apple pie to savory quiches, this crust consistently delivers a perfectly flaky texture that elevates any filling. And the best part? It's simple enough for even a beginner baker to master. The satisfaction of creating a beautiful, perfectly flaky pie crust from scratch is unmatched. It's a small victory in the midst of busy days, a testament to the simple joys of home baking. So, gather your ingredients, embrace the cold, and get ready to experience the magic of a truly perfect pie crust.
Beyond the Basics: Tips and Tricks for Pie Crust Perfection
While the basic recipe provides a fantastic foundation, a few extra tips can help you elevate your pie-making game to the next level. For even flakier results, consider using a combination of butter and shortening. The shortening helps create tenderness, while the butter contributes to flavor and flakiness. I also like to add a tablespoon of vodka or ice water to my pie dough for even more flakiness. Some people even use vinegar or lemon juice.
Don't underestimate the importance of chilling the dough. This allows the gluten to relax and the fat to solidify, leading to a more tender crust. Thirty minutes is a minimum; an hour or even overnight is even better, especially if you’re working with a particularly warm kitchen. The longer the rest, the better the result.
Rolling out the dough properly is another key to success. Use a lightly floured surface to prevent sticking, and roll gently from the center outward to maintain an even thickness. Avoid over-rolling, which can make the dough tough. For a beautiful, decorative edge, try crimping the crust with your fingers or using a fork. A little extra effort in this step can make a significant difference in the final presentation of your pie.
Finally, don’t be afraid to experiment with different flavors! Add a pinch of cinnamon or nutmeg to the dough for a warm, spiced crust. Or try adding herbs, such as thyme or rosemary, for a savory twist. The possibilities are endless, limited only by your imagination.
From Kitchen Chaos to Pie Perfection: A Recipe for Success
Making pie crust doesn't have to be a dreaded chore. With a bit of practice and the right technique, it can become a source of pride and culinary satisfaction. This recipe isn't just about creating a delicious crust; it's about mastering a fundamental skill that opens up a world of baking possibilities. It's about the quiet moments spent in the kitchen, the comforting aroma of baking pastry filling the air, and the ultimate reward of sharing a homemade pie with loved ones. So, roll up your sleeves, embrace the challenge, and embark on your own journey towards pie crust perfection. You might surprise yourself with how much you enjoy the process, and the delectable results will be well worth the effort. This is a recipe for success, both in the kitchen and in life – a testament to the simple yet profound pleasure of creating something delicious from scratch, and sharing it with those you cherish.



