No Bake Oreo Dessert
Try this No Bake Oreo Dessert recipe, or contribute your own.
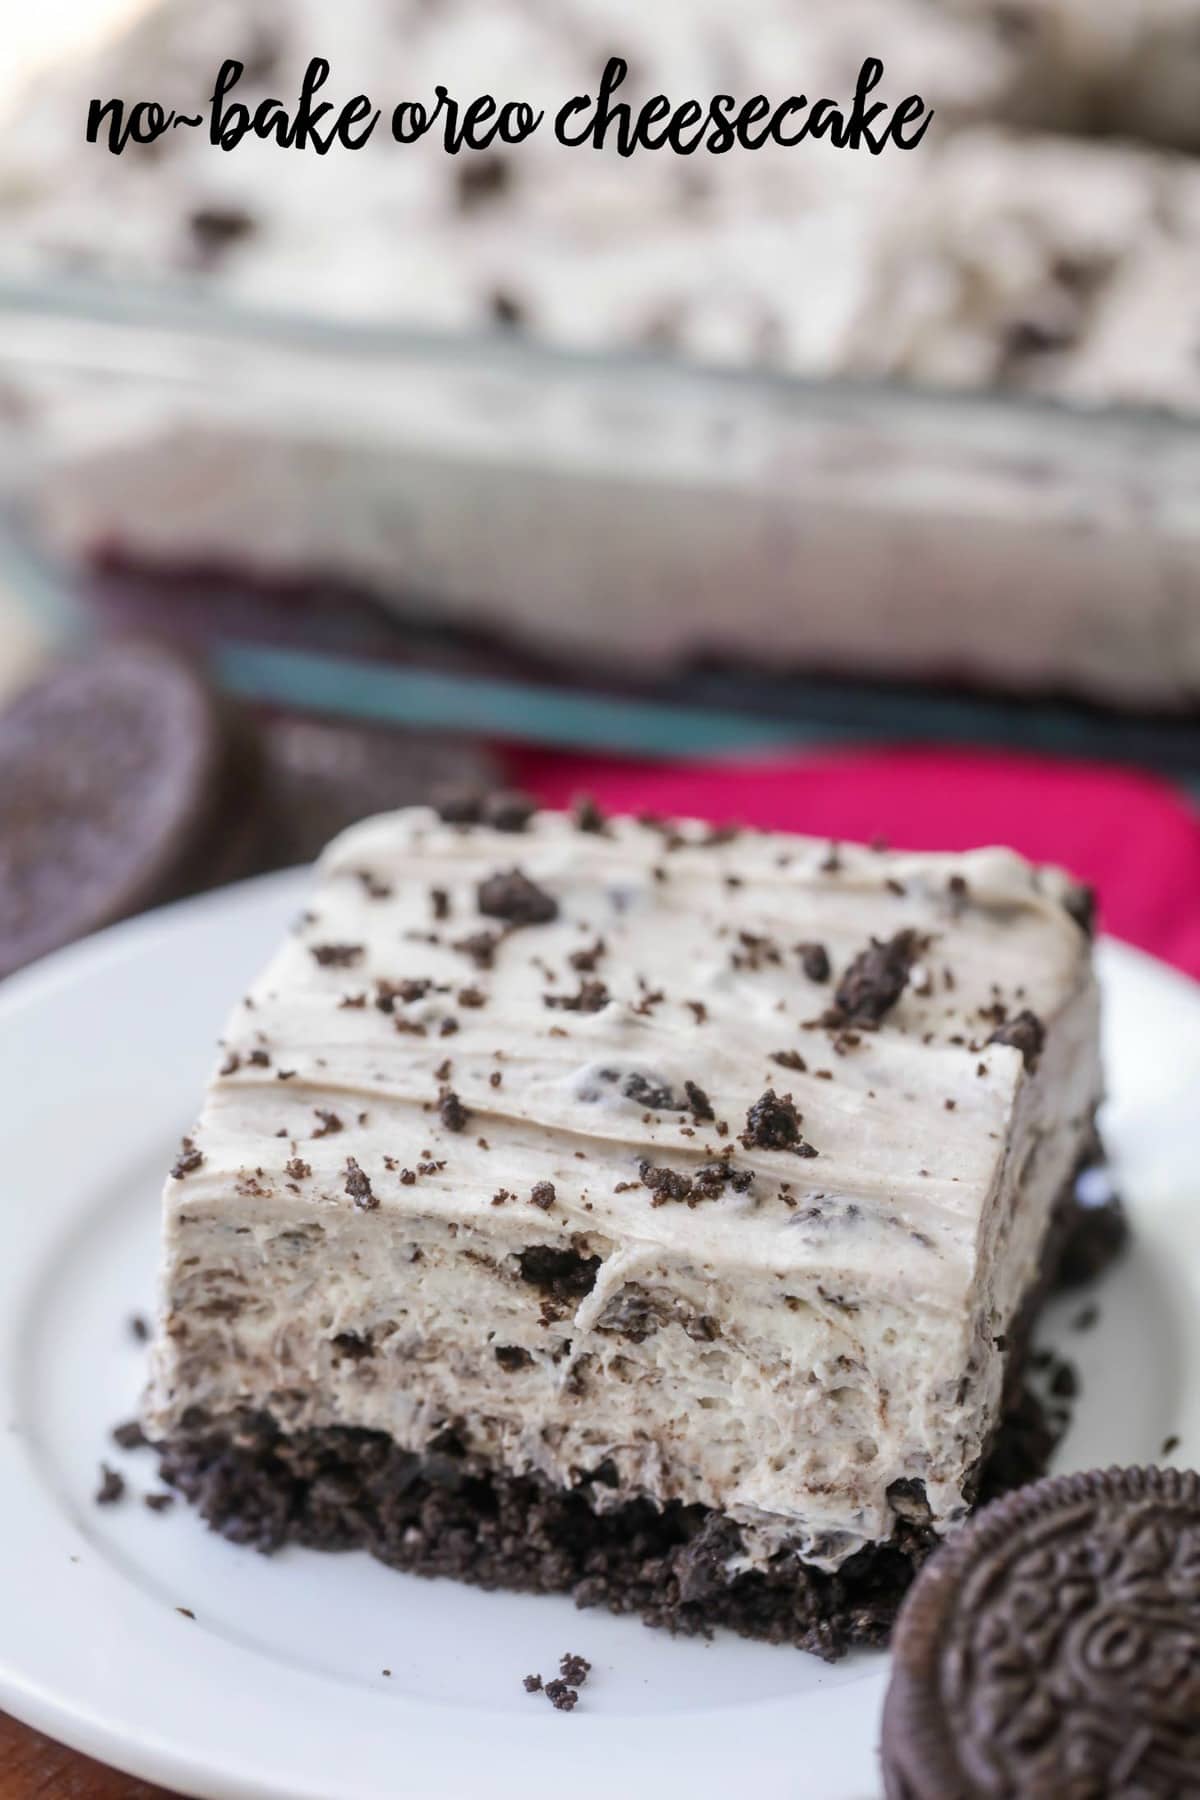
Try this No Bake Oreo Dessert recipe, or contribute your own.
- Carbohydrate 0 g
- Cholesterol 0 mg
- Fat 0 g
- Fiber 0 g
- Protein 0 g
- Saturated Fat 0 g
- Serving Size 1 1 (0g)
- Sodium 0 mg
- Sugar 0 g
- Trans Fat 0 g
- Calories 0 calories
Step-by-step
- First – use REAL Oreos for this recipe. Don’t try to save a dollar and use store brand cookies. REAL Oreos are best. I use DOUBLE STUFFED Oreos in my dish. I really feel like the extra “stuff” makes a big difference.
- Break up the Oreos with your hands into big pieces. The ENTIRE package of Oreos will be used for this recipe. It’s not time to worry about calories for this one! Save about 1/4 of the package to the side to crumble up on top.
- Once you have 3/4 of the package broken up into larger pieces (about 3-4 pieces for 1 Oreo), add those to the bottom of a 13×9 Baking Dish. I like to use a 13×9 dish because it seems to set up nicely and it’s easy to scoop out servings cleanly.
- Next, you’ll pour the melted butter right over the top of the Oreos and set the dish to the side while you make your pudding mixture.
- For the pudding mixture – this is where people seem to have the most trouble – add 1 LARGE package of Jello INSTANT pudding to a large mixing bowl. Read this with me again – INSTANT PUDDING. Do NOT try to use Cook and Serve Pudding. It WILL NOT work and you most definitely will end up with soup.
- I’m pretty sure this is where people make the mistake and end up with watery pudding. So, again – use 1 LARGE Package of Vanilla Instant Pudding and add to a mixing bowl. Then, add in 3 cups TOTAL of whole milk OR 2% milk to the pudding in the large mixing bowl.
- Do not use skim milk. I’ve found that it’s doesn’t set up as well. Once you’ve added in the milk turn on your mixer or use a hand held mixer and get to work! I like to use my whisk attachment for this recipe. If you watch my video below, in real time, you will see that I mix it for a little while until it starts to really thicken up. Instant Pudding WILL thicken before you add it to your dish.
- The next step is to add in SOFTENED Cream Cheese – Philadelphia Cream Cheese is best! The easiest way to soften cream cheese is to unwrap the cream cheese from the foil wrapper and leave out on the counter while you are preparing all the cookies and pudding for this recipe. 30 minutes would be ideal if you have time.
- Another, quicker, way to soften cream cheese is to use your microwave. Just unwrap the cream cheese, add to a small plate and either use your “soften cream cheese” setting or just heat for 30 seconds – that usually does the trick.
- Once the cream cheese is softened, cut it into smaller pieces and add to the pudding mixture and mix away again. It should incorporate mostly but will be lumpy. Lumps are fine – not huge chunks but just where it’s noticeable that you added in something to the smooth pudding.
- Once you’re done mixing away, now FOLD in the Cool Whip. I should also add that COOL WHIP Brand is best – just like REAL Oreos and Philly Cream Cheese – don’t try to save a buck and just go for it!
- To fold means to lightly use a spatula and turn the Cool Whip over and over in the bowl until incorporated well. The Cool Whip should be completely thawed.
- Now, you’re ready to add the pudding mixture to your broken up Oreos in the 13×9 pan. Just pour the entire pudding mixture right over the top. It should be nice and thick but NOT watery at all. Spread it out evenly in the pan with a spatula.
- Now, it’s time to take your remaining Oreos and add to the top of the dish. You have two choices here – you can break up the Oreos just like you did for the bottom of the dish OR you can add them to a large Ziploc bag and use a mallet and break them up into smaller pieces and crumbs. It’s up to you!
- Chill! Let this dessert chill in the fridge for at the very least 1 hour. 3-4 hours is best. You can even make this the day before your big event!
The Ultimate No-Bake Oreo Delight: A Simple Recipe for Any Occasion
As a busy mom, finding time to bake elaborate desserts is often a luxury I can't afford. That's why I adore no-bake recipes – they're quick, easy, and surprisingly delicious. This No-Bake Oreo Dessert has quickly become a staple in my household, perfect for everything from casual weeknight treats to impressive gatherings. It’s incredibly versatile and can be easily adapted to suit different tastes and occasions.
The beauty of this recipe lies in its simplicity. Forget complicated techniques and long baking times. This dessert requires minimal effort yet delivers maximum flavor. The creamy pudding layer, studded with the satisfying crunch of Oreos, is a match made in dessert heaven. It’s the kind of treat that pleases everyone, regardless of age or culinary preferences. Trust me, even the pickiest eaters will find themselves reaching for seconds.
Why this recipe works:
Simplicity: This recipe takes less than 30 minutes to prepare, making it perfect for busy weeknights or when you need a last-minute dessert.
Deliciousness: The combination of creamy pudding, crunchy Oreos, and a touch of cool whip is simply irresistible.
Customization: Feel free to experiment with different variations. Add chocolate chips, sprinkles, or even different types of cookies for a unique twist.
Crowd-Pleaser: This dessert is always a hit with guests of all ages.
One of my favorite things about this recipe is how easily it can be made ahead of time. I often prepare it the night before a party, knowing it will chill perfectly in the fridge and be ready to serve when I need it. The chilling time also allows the flavors to meld together, resulting in an even richer and more delightful experience. The time saved is a gift to my already jam-packed schedule.
The recipe is forgiving, too. Don't stress about precise measurements; a little more or less of an ingredient won't drastically affect the final product. This makes it the perfect dessert for novice bakers or anyone who prefers a more relaxed approach to cooking. Honestly, I’ve even made it with slightly stale Oreos, and it still turned out amazing! So, don't feel discouraged if your ingredients aren't perfectly fresh. You'll still end up with a tasty treat.
Tips and Tricks:
Use quality ingredients: While the recipe is forgiving, using high-quality Oreos, cream cheese, and Cool Whip will definitely enhance the final product's taste and texture. Believe me, the difference is noticeable.
Soften the cream cheese properly: Softened cream cheese is crucial for a smooth pudding layer. If you microwave it, watch it carefully so you don't accidentally melt it.
Don’t overmix: Overmixing the pudding can result in a less creamy texture. Gently fold in the Cool Whip to keep it light and airy.
Chill thoroughly: Allow the dessert to chill for at least an hour to allow the flavors to blend and the dessert to set properly. However, 3-4 hours is optimal for a truly firm and satisfying dessert.
Presentation matters: This dessert is delicious, but it can be even more impressive with a little extra effort on presentation. Consider using a beautiful serving dish, topping it with fresh berries, or drizzling melted chocolate over it for a finishing touch.
Make it your own: Don’t be afraid to experiment! Add your favorite candies, nuts, or even a layer of whipped cream to create your signature Oreo creation. The possibilities are endless!
Conclusion:
This No-Bake Oreo Dessert isn't just a recipe; it's a time-saver, a crowd-pleaser, and a testament to the magic of simple ingredients. Its ease of preparation, coupled with its irresistible flavor, makes it a recipe that I return to time and time again. So, gather your ingredients, follow the steps, and enjoy this sweet treat. I’m confident it will become a favorite in your kitchen, too. Happy baking (or rather, no-baking!)



