Quiche or Pie Crust
Try this Quiche or Pie Crust recipe, or contribute your own.
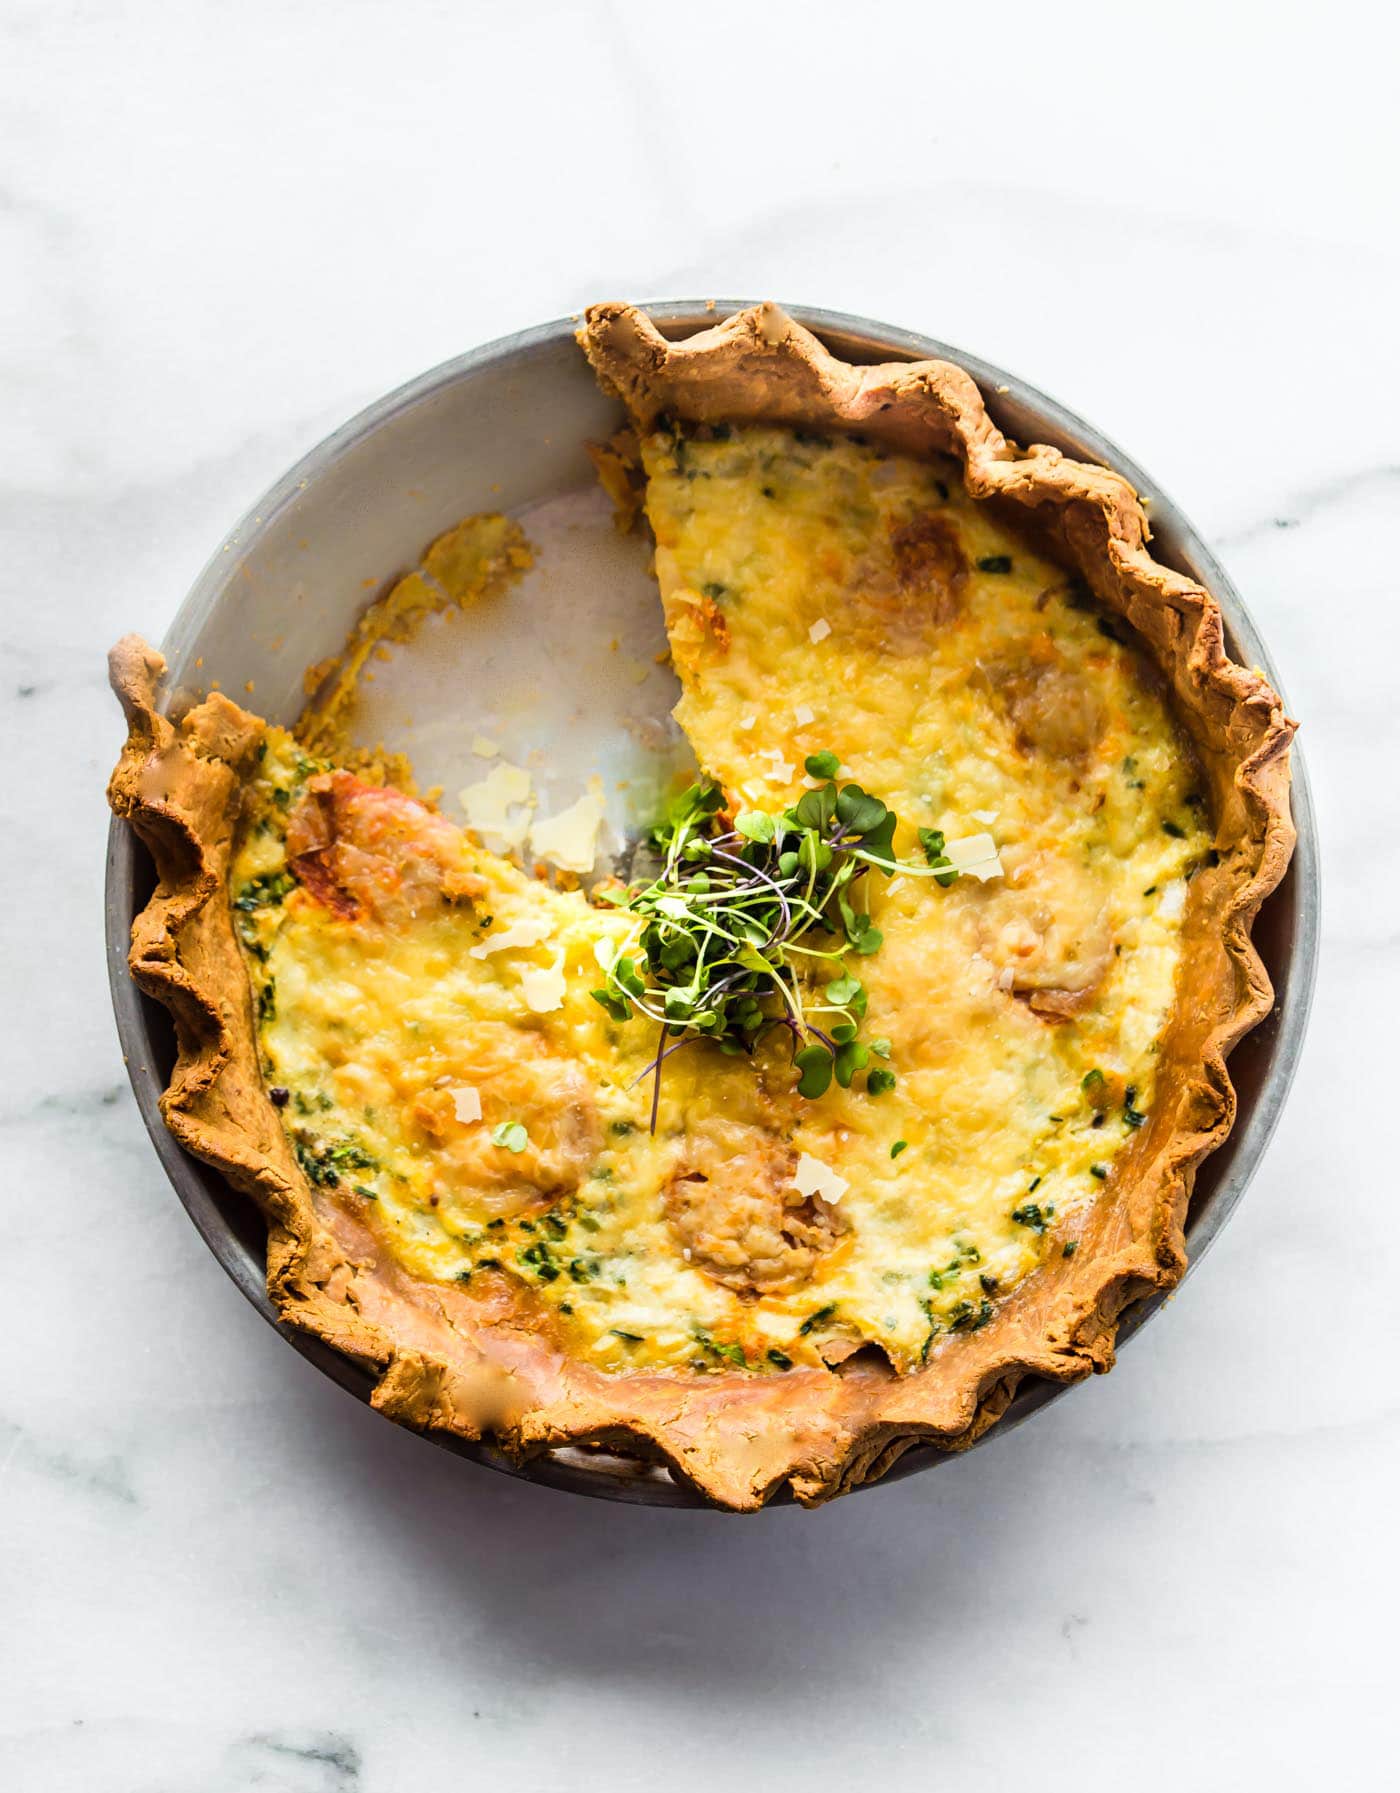
Try this Quiche or Pie Crust recipe, or contribute your own.
- Carbohydrate 129.34545 g
- Cholesterol 0 mg
- Fat 1.6611 g
- Fiber 4.5765000808239 g
- Protein 17.50935 g
- Saturated Fat 0.262725 g
- Serving Size 1 1 recipe (170g)
- Sodium 158.422 mg
- Sugar 124.768949919176 g
- Trans Fat 0.550875 g
- Calories 617 calories
Step-by-step
- In a medium bowl, add the flour, butter, Crisco and salt.
- Using a pastry cutter, work the butter and Crisco into the flour.
- The mixture should resemble course meal. You should have some smaller and larger pieces.
- Combine with a fork, add 1 tablespoon at a time.
- After combined, with your hands pat into a disk.
- Make sure not to overwork dough.
- If you need more moisture, dip your finger into the water and knead a bit longer.
- Do not use more water than needed, this will make the dough tough.
My Secret to the Flakiest Quiche Crust: A Busy Mom's Guide
As a busy mom of three, time is my most precious commodity. I’m always on the go, juggling work, school runs, and everything in between. Finding time to bake often feels like a luxury, but there's nothing quite like the satisfaction of creating something delicious from scratch, especially when it comes to comforting classics like quiche. And the key to a truly amazing quiche? The crust! For years, I struggled with making a flaky, tender pie crust that didn't crumble into a million pieces. Store-bought crusts just didn't cut it – they lacked that homemade touch, that buttery, melt-in-your-mouth goodness. So, I embarked on a mission to perfect my own recipe, one that was both easy and reliable, even for a rushed weeknight.
This recipe isn't just about following instructions; it's about understanding the science behind a perfect crust. The key is keeping everything cold – the butter, the Crisco, even the water. Cold fat creates those beautiful flaky layers that make a quiche crust exceptional. I've learned that a little patience goes a long way; rushing the process will result in a tough, dense crust. This recipe is my go-to for everything from savory quiches filled with creamy cheeses and vibrant vegetables to sweet pies brimming with seasonal fruits. The versatility is what makes it a true kitchen staple.
The Magic of Cold Ingredients: The secret weapon in this recipe? Cold fat. I always chill my butter and Crisco in the freezer for at least 10 minutes before I start. This ensures the fat stays solid as I work it into the flour, creating those all-important layers that lead to a flaky texture. The colder the ingredients, the less the gluten develops, resulting in a more tender crust. This is also why I recommend using ice water – the colder the water, the less it will activate the gluten.
Mastering the Technique: The process itself is quite simple. You'll start by cutting the cold butter and Crisco into the flour until the mixture resembles coarse crumbs. The goal is to have some larger pieces of fat mixed in with smaller ones. The larger pieces melt slower during baking, creating air pockets that contribute to the flakiness. Adding ice water gradually is another crucial step. Don't add more than you need – too much water will result in a tough crust. If you find the dough is a little dry, you can gently add more water, a tablespoon at a time, but don’t overdo it.
Beyond the Basics: Variations and Tips
While the basic recipe is incredibly versatile, don't be afraid to experiment! You can easily adapt this recipe to create a variety of different crusts. For example, adding a tablespoon of sugar will create a sweet crust perfect for fruit pies. Alternatively, you could swap some of the butter or Crisco with lard for an even richer flavour and texture.
Storage and Freezing: This dough can be easily stored in the refrigerator for up to 3 days or frozen for up to 3 months. Simply wrap it tightly in plastic wrap before placing it in the fridge or freezer. To use frozen dough, let it thaw overnight in the refrigerator before rolling it out.
Baking Tips: Blind baking is a key step to ensure a crisp crust. This involves pre-baking the crust before adding the filling. It prevents a soggy bottom, a common issue with quiches and pies. Before adding your favourite quiche filling, make sure to prick the base of the pastry shell with a fork to prevent bubbles from forming. Then, line it with baking paper and fill with baking weights before blind-baking.
This simple, foolproof recipe has become my go-to for countless quiches and pies. It's a testament to the fact that even the busiest of moms can create delicious, homemade treats with a little planning and the right techniques. So, go ahead, give it a try, and enjoy the delicious results!
Ingredients You'll Need:
- 1 ½ cups all-purpose flour
- 3 tablespoons cold butter, cut into small cubes
- 4 tablespoons cold Crisco, cut into small cubes
- A pinch of salt
- 3-4 tablespoons ice water
Enjoy!



